Create Custom Display Plugin from Scratch#
The following steps demonstrate how to create a custom display plugin from scratch.
Note
The code for this tutorial can be reviewed at Tutorials/SampleDisplayPlugin
A custom display plugin is a .Net DLL that when deployed to the ATLAS program files, is automatically loaded and registered on startup.
Note
Currently only one custom display type is allowed per custom display plugin project.
However, any number of instances of a custom display type may be added to a workbook.
Create Project#
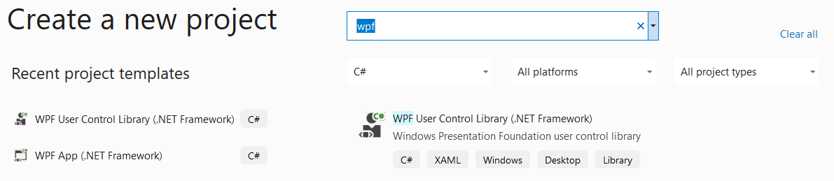
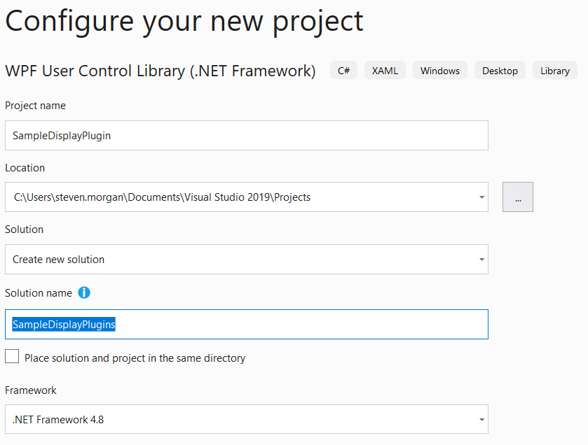
Create a new C# WPF User Control Library (.NET Framework) project with Visual Studio.
Tip
Enter wpf into the Search box
Caution
Create a .NET Framework WPF project and not a .Net Core WPF project
Attention
Ensure there is Plugin somewhere within the name, otherwise ATLAS will not load the plugin
Note
This project type includes a template for the View
Update Assembly Information#
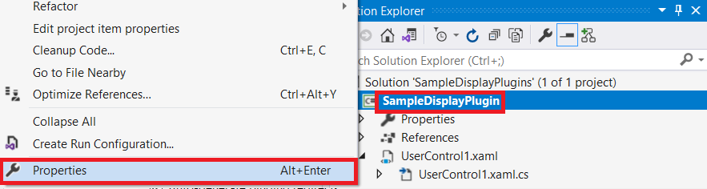
Edit project settings
Click Assembly Information...
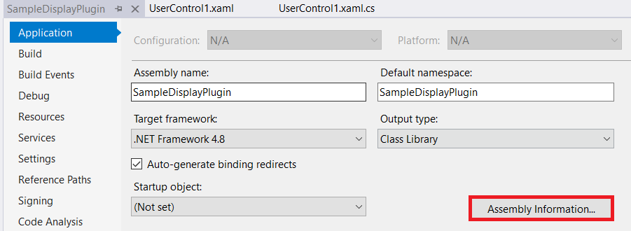
Modify the Title, Description and GUID (if not already set) properties

The Title property corresponds to the custom display window title
The Description property corresponds to the custom display icon tooltip
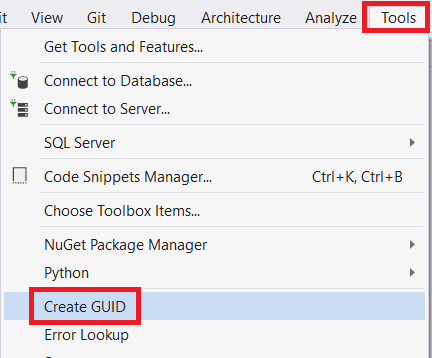
Attention
A GUID must be specified otherwise ATLAS will fail to start.
Use Tools->Create GUID as necessary
Copy Registry Format
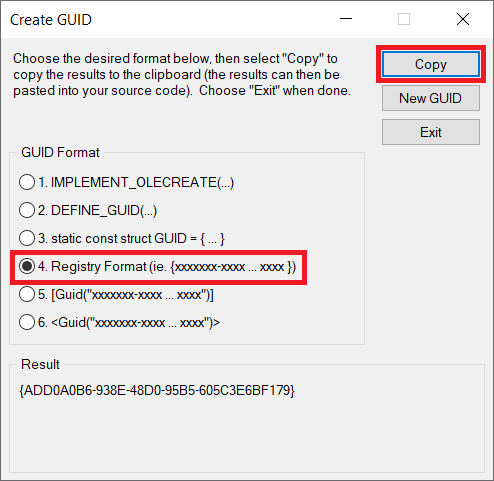
Remember to remove '{' and '}' from beginning and end of the string
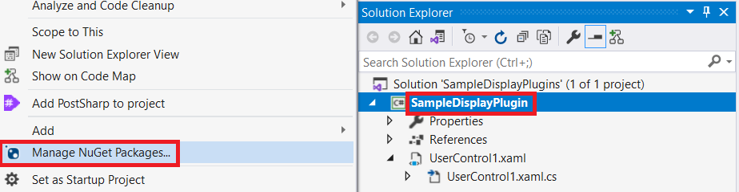
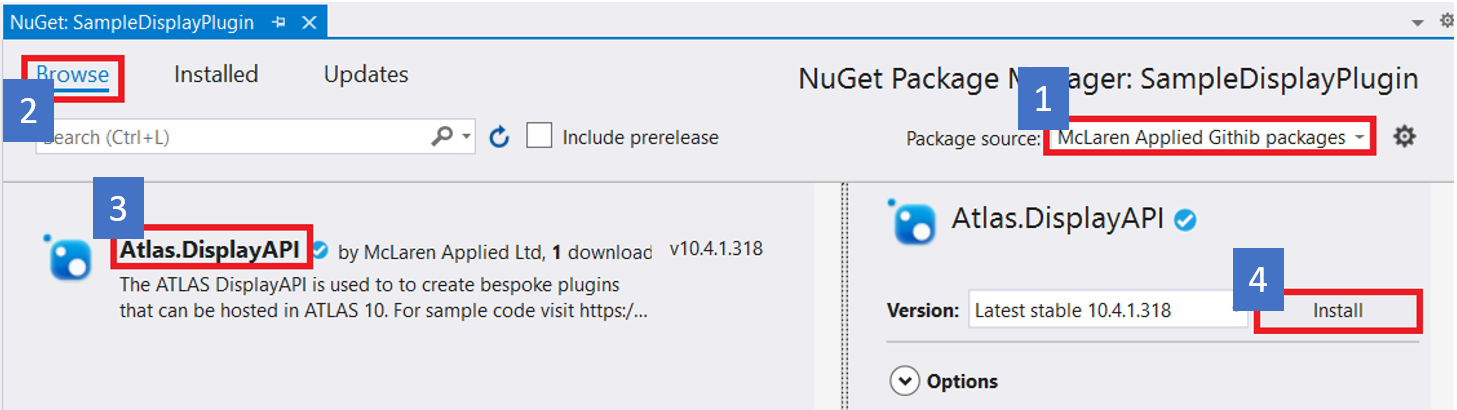
Add reference to Atlas.DisplayAPI NuGet package#
Manage NuGet packages of project
Browse to Atlas.DisplayAPI NuGet package and install
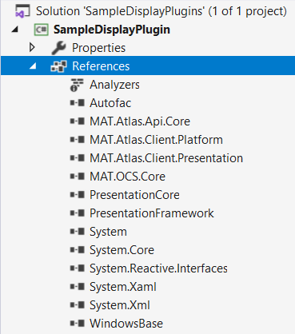
Once installed the references should look similar to this
Add an icon for the toolbar#
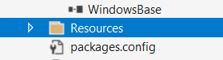
Add a Resources folder to the project

Which should look like
Add an existing item to the Resources folder

Note
The icon should be a 16 x 16 pixel PNG file compatible with ATLAS dark theme
Select and Add icon
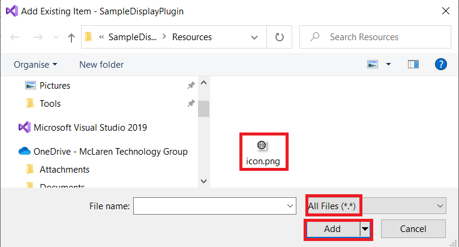
Which should look like
![]()
Ensure Build Action is set to Resource

Configure View class#
The View class presents the custom visualization.
-
Rename
UserControl1toSampleDisplayView- Rename
UserControl1.xamltoSampleDisplayView.xaml- Update
x:ClasstoSampleDisplayPlugin.SampleDisplayView
- Update
- Rename
UserControl1.xaml.cstoSampleDisplayView.xaml.cs- Rename
UserControl1class toSampleDisplayView
- Rename
namespace SampleDisplayPlugin { public partial class SampleDisplayView { public SampleDisplayView() { InitializeComponent(); } } } - Rename
-
Add to the XAML a simple
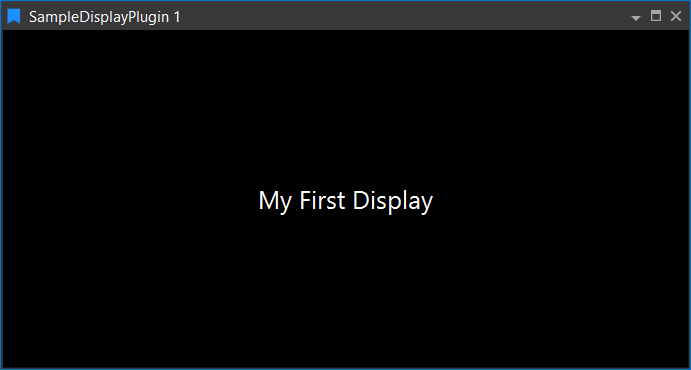
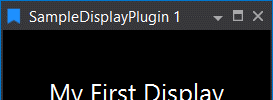
<TextBlock>to display white text<UserControl x:Class="SampleDisplayPlugin.SampleDisplayView" xmlns="http://schemas.microsoft.com/winfx/2006/xaml/presentation" xmlns:x="http://schemas.microsoft.com/winfx/2006/xaml" xmlns:mc="http://schemas.openxmlformats.org/markup-compatibility/2006" xmlns:d="http://schemas.microsoft.com/expression/blend/2008" mc:Ignorable="d" d:DesignHeight="450" d:DesignWidth="800"> <Grid> <TextBlock VerticalAlignment="Center" HorizontalAlignment="Center" Foreground="White" FontSize="20" Text="My First Display" /> </Grid> </UserControl>
Note
Text is white to be compatible with the ATLAS dark theme
Add View Model class#
The View Model class provides the business logic behind the custom visualization.
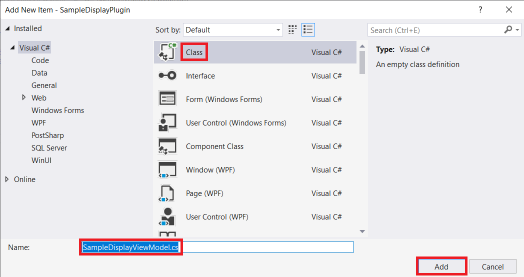
Add a New Item to the project

Add a Class named SampleDisplayViewModel to the project
Important
Remember to derive the View Model class from the DisplayPluginViewModel base class, otherwise the custom display will not be available to ATLAS
using MAT.Atlas.Client.Presentation.Displays;

namespace SampleDisplayPlugin
{
    public sealed class SampleDisplayViewModel : DisplayPluginViewModel
    {
    }
}
Note
Subsequent tutorials will expand the View Model class to interact with the View and retrieve data from ATLAS to visualize.
Add Plugin class#
The Plugin class registers the View class, View Model class and Icon location with ATLAS.
- Create a class named Plugin as per View Model class
- Derive from DisplayPlugin<Plugin>
- Decorate class with DisplayPlugin attribute
- Set appropriate values for: View, ViewModel and IconUrl properties
using MAT.Atlas.Client.Presentation.Plugins;

namespace SampleDisplayPlugin
{
    [DisplayPlugin(
        View = typeof(SampleDisplayView),
        ViewModel = typeof(SampleDisplayViewModel),
        IconUri = "Resources/icon.png")]
    public sealed class Plugin : DisplayPlugin<Plugin>
    {
    }
}
Add PluginModule class#
The PluginModule class provides the entry point for ATLAS to initialise the custom display plugin.
- Create a class named PluginModule as per View Model class
- Derive from Module (provided by Autofac)
-
Decorate class with Export attribute (provided by MEF)
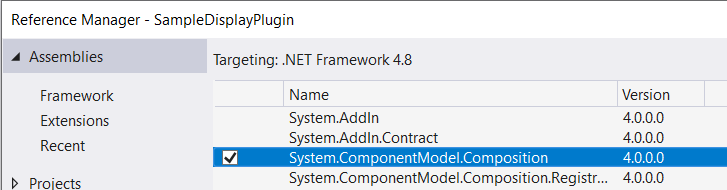
- Add a reference to System.ComponentModel.Composition if required
-
Override Load method and register display plugin
using System.ComponentModel.Composition;

using Autofac;
using Autofac.Core;

using MAT.Atlas.Client.Presentation.Plugins;

namespace SampleDisplayPlugin
{
    [Export(typeof(IModule))]
    public sealed class PluginModule : Module
    {
        protected override void Load(ContainerBuilder builder)
        {
            DisplayPlugin<Plugin>.Register(builder);
        }
    }
}
Optional: combine PluginModule and Plugin classes#
To reduce boilerplate code the plugin class may be nested within the PluginModule class
using System.ComponentModel.Composition;

using Autofac;
using Autofac.Core;

using MAT.Atlas.Client.Presentation.Plugins;

namespace SampleDisplayPlugin
{
    [Export(typeof(IModule))]
    public sealed class PluginModule : Module
    {
        protected override void Load(ContainerBuilder builder)
        {
            Plugin.Register(builder);
        }

        [DisplayPlugin(
            View = typeof(SampleDisplayView),
            ViewModel = typeof(SampleDisplayViewModel),
            IconUri = "Resources/icon.png")]
        private sealed class Plugin : DisplayPlugin<Plugin>
        {
        }
    }
}
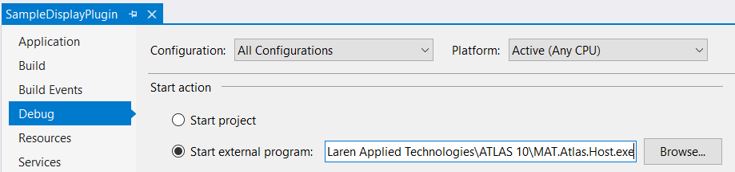
Build, Deploy and Debug#
- Build Debug or Release solution configuration
- Copy plugin DLL to ATLAS 10 program files
- Manually copy from bin/Debug or bin/Release, or
- Add a post build step to automatically copy, see Deployment Script
-
Debug using ATLAS 10 (updating the project settings to start ATLAS on debugging)
-
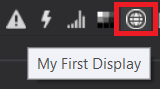
Assuming all went well, there should be a toolbar icon for the custom display in ATLAS
-
Clicking the custom display toolbar icon should display a window containing the contents of the View